1) Start Here: A quick plan that actually works
Moving furniture is not a test of strength. It’s a plan. You’ll get better results when you:
-
Measure furniture and doorways,
-
Make a route (and remove obstacles),
-
Lower friction (sliders/blanket),
-
Use good body mechanics (neutral back, turn with feet),
-
Finish strong (wall-anchoring, floor check).
If you remember only one thing: push slowly with control instead of pulling blindly.
2) Measure and map your route (5–10 minutes)
-
Measure three sides of the furniture (W×D×H).
-
Measure doorways, halls, elevator width/height.
-
Check diagonal pass: sometimes a tall item passes at a slight angle.
-
Tape the floor: mark doorway width and practice the turn before you move the item.
-
Clear your route: roll up rugs, coil cables, keep kids and pets in another room, and wedge doors half-open.
Small hack: Put a towel or cardboard on corners and along the door frame where contact is likely.
3) Tools that save your back (with easy substitutes)
| Tool | Best for | Why it helps | DIY substitute |
|---|---|---|---|
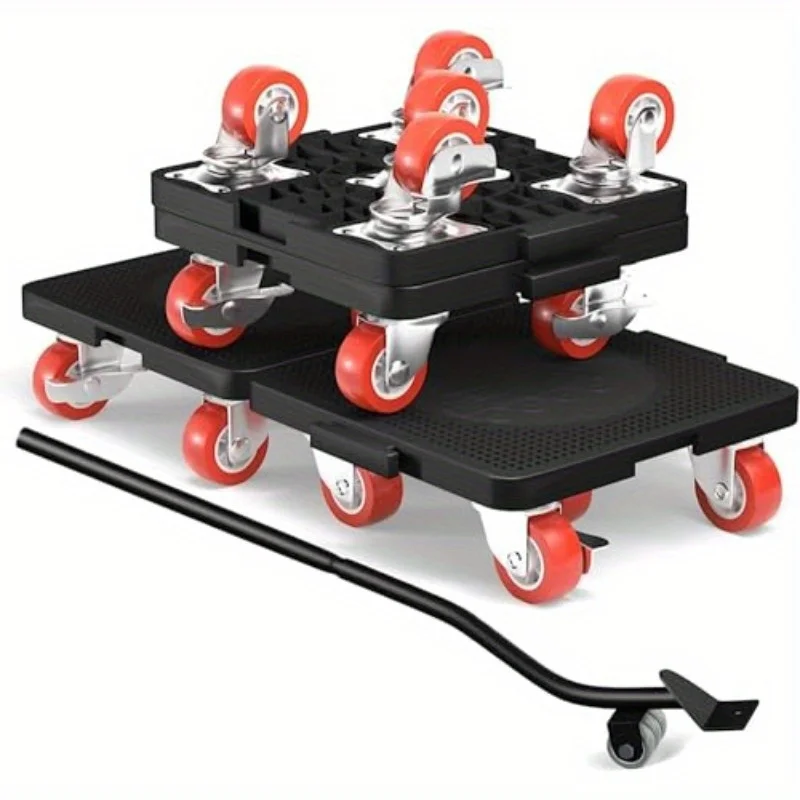
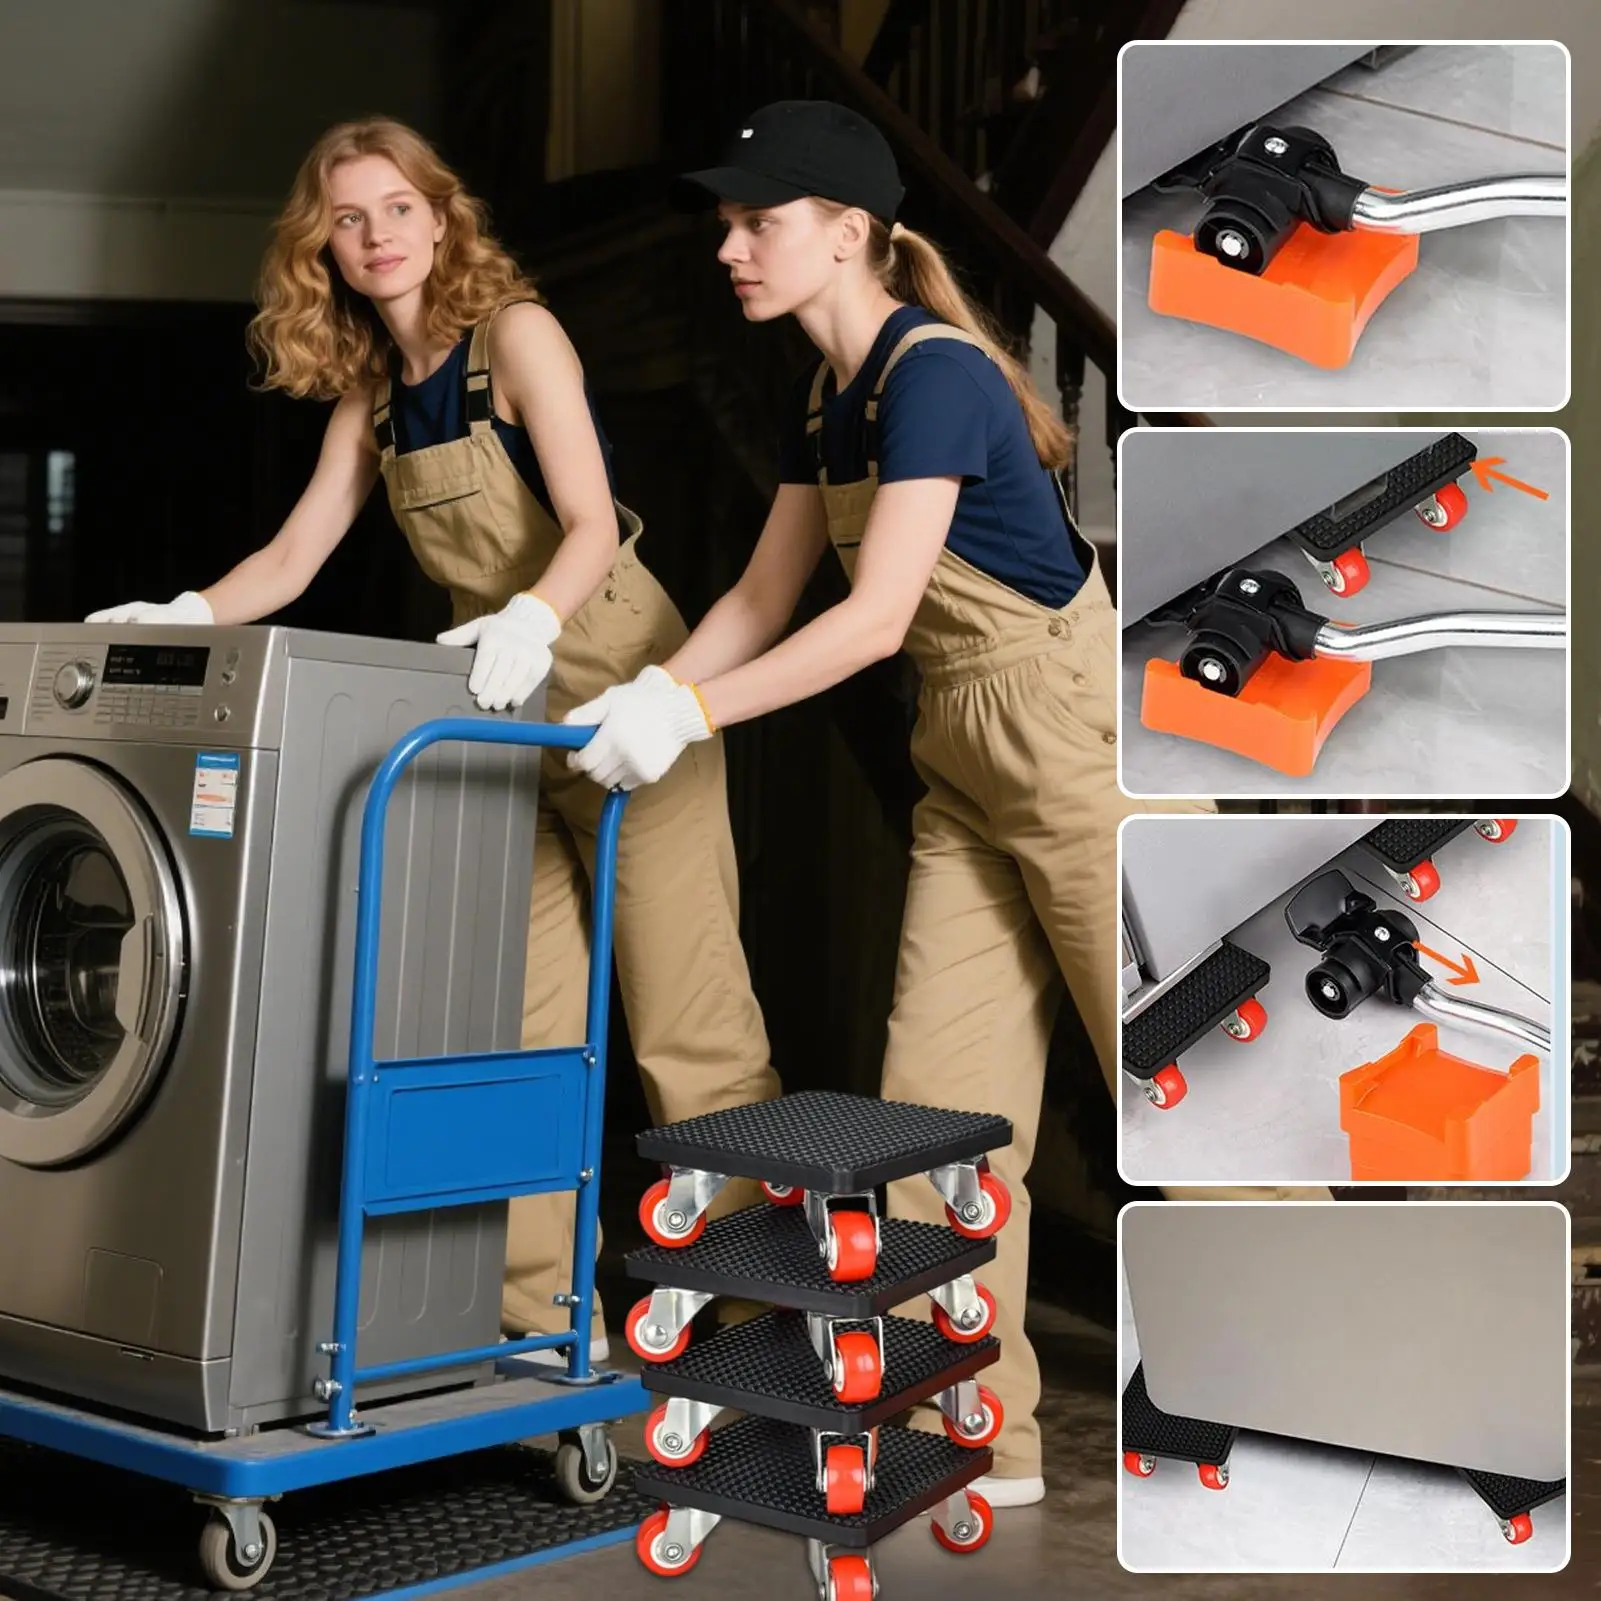
| Furniture sliders (felt for wood/tile, hard plastic for carpet) | Dressers, wardrobes, couches | Cuts friction so you can push instead of heave | Thick blanket, cardboard + plastic sheet |
| Hand truck (dolly) | Boxes, appliances (upright) | Moves weight to wheels; stable, steerable | Sturdy cart with brakes |
| Lifting straps (2-person) | Stairs, thresholds, mattresses | Spreads load to your torso; frees hands | Large sheet/blanket (two corners each) |
| Pry bar / lifter | Getting sliders under legs | Makes a small gap with minimal force | Rigid ruler/butter knife wrapped in cloth |
| Door mat/plywood | Raised thresholds | Creates a small ramp | Two or three books + cardboard (temporary) |
Important: If legs are sharp, layer cardboard → slider so you don’t puncture the slider.
4) Body mechanics made easy
-
Keep it close: hold the item close to your body; straight arms = fast fatigue.
-
Neutral back: bend hips and knees, not your spine.
-
Turn with your feet: pivot your feet to change direction; don’t twist your waist under load.
-
Two trips beat one: split loads; slow and steady is faster than a mishap.
-
Lower, then hands out: when setting down, create a small gap, pull your fingers out, then lower fully.
Push over pull: Pushing gives you better vision and balance. Pull only when you must, and go slower.
5) Room-by-room playbook
Living room
-
Sofa: Tilt one side slightly to “make the corner” before the turn. Slide on a blanket or sliders.
-
TV unit: Label cables before disconnecting. Pads under the feet prevent scratches.
Bedroom
-
Wardrobe/dresser: Empty the top half, remove drawers or tape them shut. After moving, re-anchor to the wall to prevent tip-over.
-
Bed: Two people + lifting straps for the mattress. Disassemble the frame to shorten length and reduce weight.
Kitchen & laundry
-
Fridge & tall cabinets: Tape doors and shelves. Move upright whenever possible. If you had to lay a fridge down, stand it up and wait before plugging in (follow your model’s manual).
-
Washer: Keep it upright; check transit bolts if the manual requires them for long moves.
Hallway, entry, and stairs
-
Corners: Pre-tilt (top-first or bottom-first) to reduce the turning radius.
-
Thresholds: Use a mat or board as a small ramp.
-
Stairs: Two people minimum; the person below does not “catch the weight.” Move together on a clear count: “1-2-3, lift.”

6) Special items (quick rules that prevent damage)
-
Glass tops / mirrors: Remove and carry upright with edges padded.
-
Stone tops: Heavy and slippery—go slow; keep fingers out from under edges.
-
Mattress: Straps make it easy to steer. In tight halls, fold slightly to angle through.
-
Plants / aquariums: Reduce water/soil first. Move the container, then the contents.
7) The 90-minute mini-schedule (2 people, two rooms swap)
-
0–10 min: Measure, mark the floor, clear the route, protect corners/floor.
-
10–25 min: Remove drawers/shelves; slide the dresser to the hall.
-
25–40 min: Mattress with straps; frame disassembled and stacked.
-
40–55 min: Sofa tilt-and-turn through the corner; slide into position.
-
55–70 min: Table: remove glass/stone top; move base; reattach top.
-
70–85 min: Fridge upright to the new spot; wait before power per manual.
-
85–90 min: Re-anchor wardrobes/bookshelves; remove tape residue; quick floor check.
8) Tight spots: three simple formulas
-
Pivot pass: Put one leading corner through the doorway first, then rotate the trailing corner inside.
-
Diagonal pass: Stand the item slightly upright/angled so its diagonal clears the frame.
-
Height-then-turn: Tilt top-first or bottom-first to “make” turning space without scraping.
If you get stuck, back out, reset the angle, and try again slowly. Forcing it usually causes scratches.
9) Common problems and quick fixes
| Problem | Likely cause | Do this |
|---|---|---|
| Doorway is “almost” too narrow | Hinge pin or door leaf blocks space | Temporarily remove the door or hinge pin; try a diagonal pass |
| Floor scratches | Load concentrated on sharp legs | Add a cardboard layer under sliders; use felt caps |
| Can’t make the corner | Not enough turning radius | Pre-tilt (top-first or bottom-first), then pivot slowly |
| Slippery hands on stairs | Moisture, no gloves | Wear grippy gloves; call out steps together |
| Finger pinches when setting down | Lowering too fast | Gap—hands out—lower fully (three-step landing) |
10) Safety and courtesy
-
Time: Avoid quiet hours in apartments; tell the building desk if you’ll use the elevator for a while.
-
Weather: Keep an absorbent mat at the door on rainy days.
-
Exits: Never block a fire exit or escape route, even “for one minute.”
11) One-page checklist (copy/paste)
-
Measure furniture and doorways/halls/elevator
-
Clear route: rugs up, cables coiled, doors wedged open
-
Protect: towels on corners, blanket/cardboard/sliders on floor
-
Tools ready: sliders, hand truck, lifting straps (or substitutes)
-
Roles and counts agreed: “1-2-3 lift / lower”
-
Body mechanics: neutral back, keep item close, turn with feet
-
Appliances upright; wait before plugging in if laid down
-
Re-anchor tall furniture after placement
-
Remove tape residue; quick floor and wall check
12) FAQ (short, helpful answers)
Q1. Can I move heavy items alone?
Light items and short moves, yes. Big, tall, or top-heavy items are safer with two people. If alone, use sliders + door wedge + gloves and split the task.
Q2. Push or pull?
Push most of the time. You see better, and your body weight supports the move. Pull only when space forces it, and go slow.
Q3. How long should I wait before powering a fridge I laid down?
Follow your model’s manual. If it was on its side, many brands advise waiting a few hours so fluids settle. Upright moves usually need less or no wait.
Q4. Do I really need wall anchors after moving a dresser or bookcase?
Yes—tall furniture can tip. Re-install wall anchors/straps, especially if children visit or live in the home.
Q5. What protects the floor best?
On wood/tile, use felt sliders or a thick blanket plus cardboard. On carpet, hard plastic sliders or a sheet of plywood spreads the weight.
Follow this order—measure → route → reduce friction → move with good form → finish safely—and you’ll move furniture with less strain, fewer scratches, and a calm back. Start with a small piece today, and the big pieces will feel much easier next time.


