How to Keep Your Pipes from Freezing: A Friendly Guide to Pipe-Heating Cables (Safety First)
When the first cold snap hits, exposed pipes are the first to complain.
A simple pipe-heating cable (often called heat cable, heat tape, or freeze-protection cable) can keep water moving without turning your utility room into a science project.
Below is a calm, step-by-step guide you can follow at home—written for beginners, with the most important safety rules right up front.
What this thing does
A pipe-heating cable sits along the pipe and warms it just enough to stop ice from forming.
Some models switch on automatically when the temperature drops; others you turn on yourself. Think of it as gentle warmth, not a space heater.
Good places to use it
-
Outdoor or exterior-wall runs (balcony/yard spigots, exposed utility lines)
-
Cold corners near windows or unheated spaces
-
Meters, elbows, and valves where cold tends to settle
The 60-second safety check (before you start)
-
Cable jacket: no cuts, dents, kinks, or burn marks
-
Plug/connection points are bone-dry
-
You have weather-protected (outdoor-rated) power and, ideally, a GFCI/RCD outlet or power strip
-
Plan a route so the cable never overlaps or crosses itself
Remember these three: Don’t overlap. Don’t cut. Keep it dry.
Get those right and you avoid most fire and shock risks.
Step-by-step install (calm and simple)
-
Wipe the pipe clean so tape sticks well.
-
Place the sensor (if your model has one) near the coldest section; hold it in place with aluminum or fiberglass tape.
-
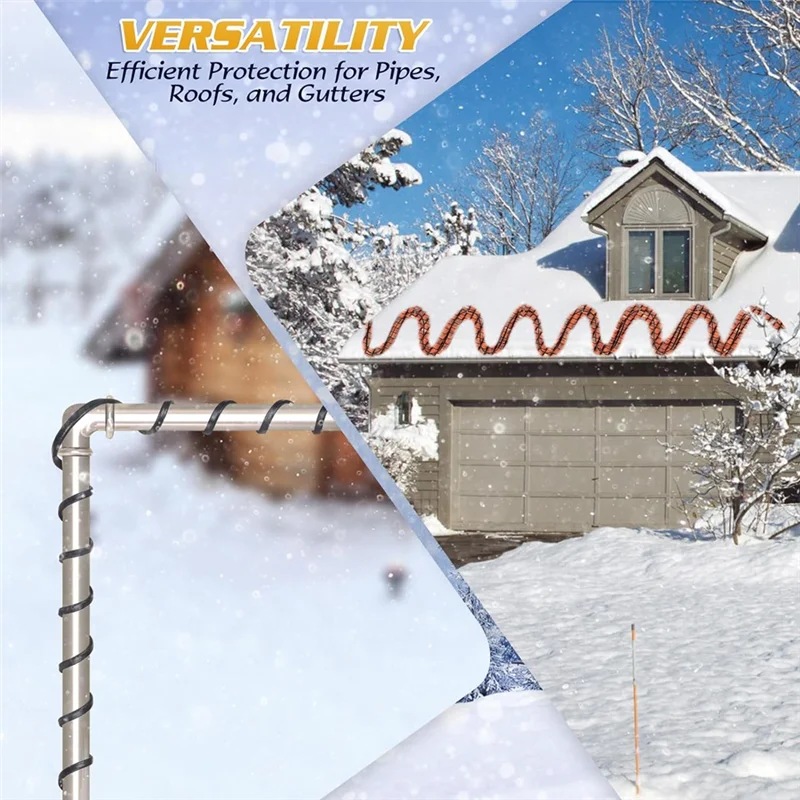
Wrap the cable in a spiral along the pipe—no overlapping, no crossing.
-
Metal pipe: 3–5 cm (1–2 in) spacing.
-
Plastic/PVC/PEX: 5–10 cm (2–4 in) spacing and first lay a strip of aluminum tape under the cable to spread heat evenly.
-
-
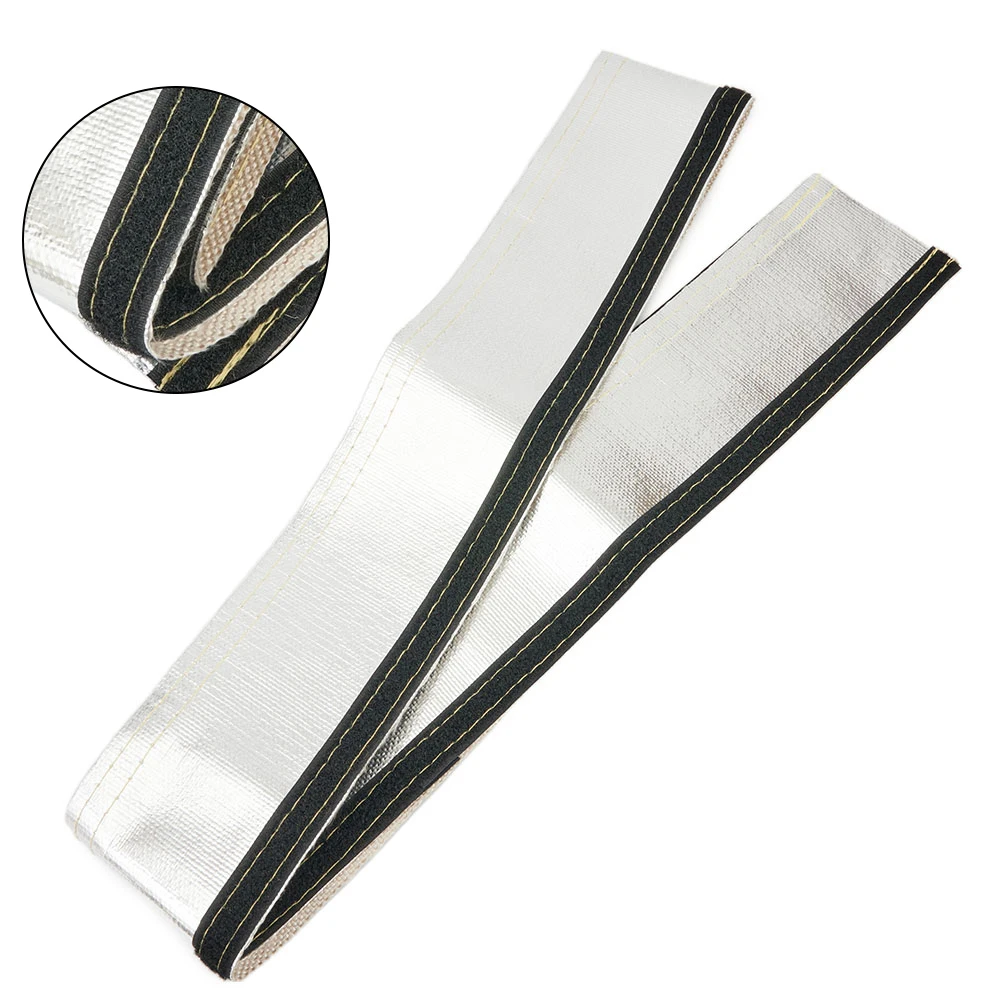
Tape it down lightly along the run (aluminum/fiberglass tape beats regular PVC electrical tape near heat).
-
Insulate over the top with foam pipe insulation; seal joints with weatherproof tape so water can’t creep in.
-
Power on and feel: the cable should become warm, not hot. Any burning smell or hot spots? Unplug immediately and recheck spacing.
-
Keep the plug and connections dry (use a cover or drip loop if outdoors).
What not to do (these cause most accidents)
-
Do not coil or leave the cable powered while still on the reel.
-
Do not cut/extend/repair the cable or end cap unless the product explicitly says “cut-to-length.”
-
Do not bury it under rags, cardboard, or other flammables.
-
Do not install on gas lines.
-
Do not ignore GFCI/RCD protection—use it whenever possible.
Power math (to avoid overloading a strip)
Total watts = (rated W per meter/foot) × (length used).
Example: 10 W/m × 10 m = 100 W total. Keep plenty of headroom on your power strip/breaker, especially if other heaters share the circuit.
Red flags & quick responses
-
Sudden hot spots, melting, scorchy smell → Unplug now, re-wrap with correct spacing; retire damaged cable.
-
Moisture at plugs or splices → dry completely and weather-protect, or relocate.
-
Tripping GFCI/RCD → indicates a fault; don’t bypass it—inspect or replace.
Seasonal care
-
In a cold spell, keep it on (sensor types only energize when needed).
-
Once thawed in spring: unplug, dry thoroughly, and store loosely without tight bends.


