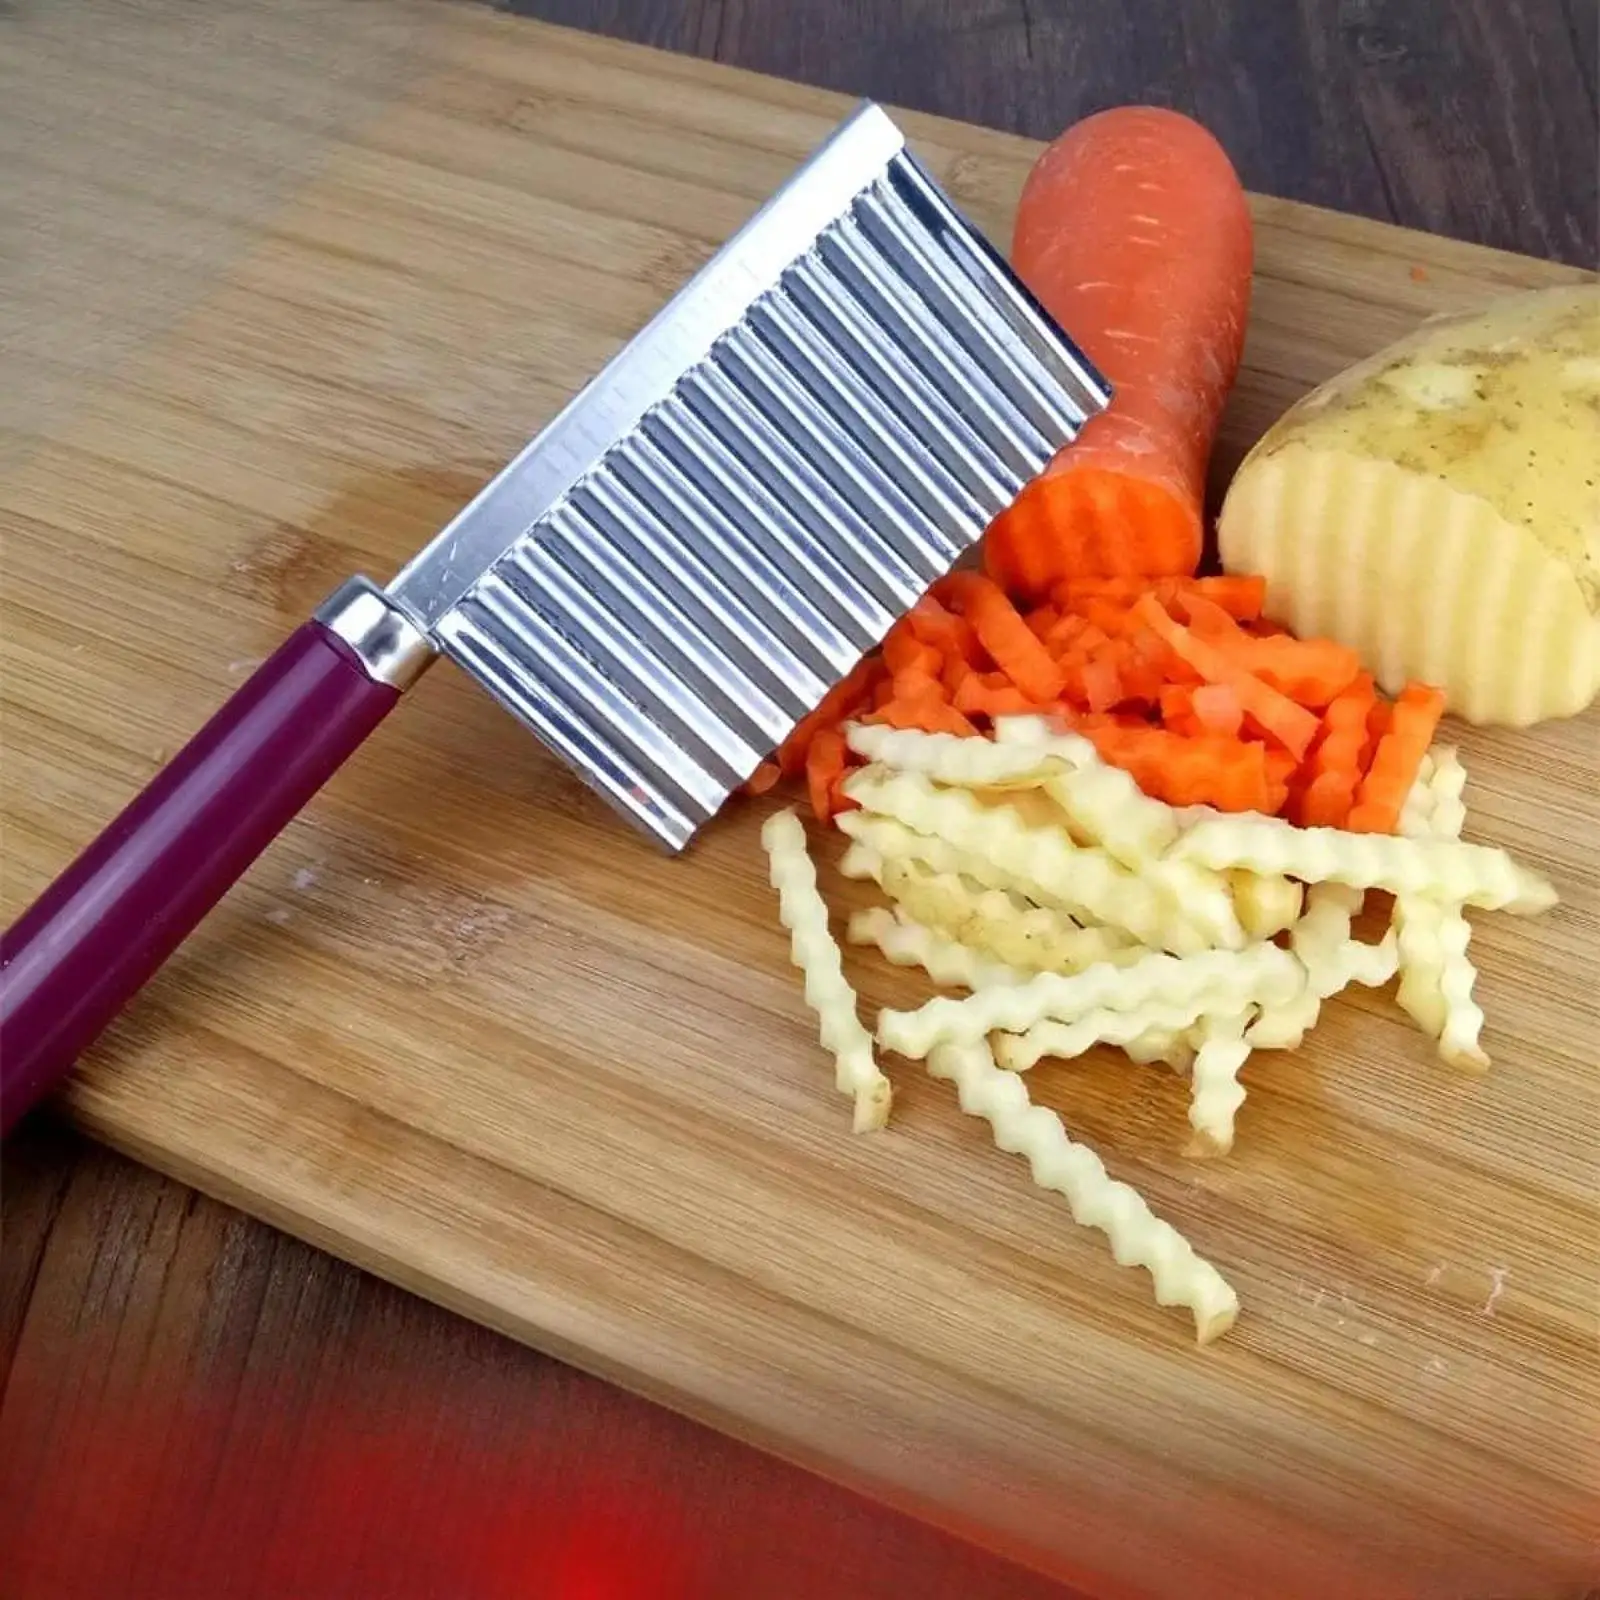
Cabbage Slicer (Mandoline-Style) — A cozy, practical guide for everyday kitchens
First, if your cabbage shreds keep coming out uneven and a little chewy, you’re not alone.
One step at a time, a dedicated cabbage slicer takes most of the guesswork out: set the thickness, slide back and forth, and you get light, consistent strands that lift any salad or cutlet plate.
How it works (quick analogy)
Think of a flat runway with a razor-straight “gate.” As the cabbage glides over the blade, only the height you set is shaved away. Many slicers offer fine, continuous adjustment, so you can nudge from whisper-thin to slightly crunchy without changing tools.
What it’s great for
-
Classic shredded cabbage for cutlets, fried fish, and sandwiches
-
Coleslaw bases that dress evenly
-
Stir-fries where even thickness equals even cooking
-
Light pickles and quick salted mixes

What you need
-
A mandoline-style cabbage slicer (ideally with fine thickness control)
-
Hand guard (pusher) and, optionally, cut-resistant gloves
-
A large bowl or tray to catch the shreds
-
A damp cloth or anti-slip mat to steady your board
-
Two cutting boards if you handle raw meat elsewhere (hygiene separation)
Setup & first use (5 steps)
-
Stabilize: Lay the slicer across a bowl or on a non-slip surface. Dry the counter—wet surfaces slip.
-
Set thickness: Start at about 1.0–1.2 mm. Too thin and the cabbage collapses fast; too thick and it chews tough.
-
Quarter the cabbage: Work with a 1/2 or 1/4 head. Slice across the grain in straight back-and-forth strokes.
-
Switch to the pusher early: The moment your hand nears the blade, swap to the guard. Always.
-
Refresh: Brief soak in cold water, drain well. This perks up texture and reduces any harsh notes.
Thickness guide (use cases)
-
0.8–1.0 mm: Feather-light, classic for cutlet garnish and simple dressings
-
1.0–1.5 mm: Balanced bite for salads, sandwiches, coleslaw
-
1.5–2.0 mm: Presence in stir-fries, mixed pickles, okonomiyaki-style fillings
-
3.0 mm+: Chunky applications where texture must stand out
Care & storage
-
Rinse immediately after use so bits don’t dry on.
-
Wash with a soft sponge and mild detergent; avoid abrasives that scratch plastic or dull edges.
-
Dry completely before storing. Keep the blade cover on and out of children’s reach.
-
Avoid high-heat areas (warping risk for plastic frames).
Durability & when to replace parts
-
Signs of a tired blade: tearing instead of slicing, more force needed, fuzzy cut edges.
-
Many models offer replaceable flat blades and julienne inserts—economical over time and keeps performance steady.
Safety (the short list)
-
Hand guard always. If you’re close to the blade, guard up—no exceptions.
-
Dry hands and a dry counter. Most slips happen on wet surfaces.
-
Store with the cover on, well out of reach of children and pets.
-
Keep vegetable tools and boards separate from raw-meat tools to prevent cross-contamination.
Troubleshooting
-
“It tastes tough.” → Step down the thickness one notch and refresh briefly in cold water; spin or pat completely dry.
-
“It wilts too fast.” → You likely went too thin. Move back toward 1.0–1.2 mm.
-
“Shreds clump together.” → Wipe moisture off the blade, rinse/dry the slicer mid-batch, and drain the cabbage fully.
-
“The last nub feels risky.” → Use only the pusher; don’t freehand tiny pieces.

FAQ
Q1. Is 1 mm the “right” number?
A. Not a rule—just a reliable starting point most people like. Adjust to taste.
Q2. When do I use julienne inserts?
A. For carrot/cucumber matchsticks or a distinct texture. Flat blades are the default for cabbage.
Q3. Can I run this through a dishwasher?
A. Check your specific model. If it’s not clearly marked dishwasher-safe, hand-wash to be safe.
What makes a good slicer feel “easier”
-
Fine, smooth adjustment: It’s simpler to repeat the same thickness day after day.
-
Guard and grip details: Better pusher shapes and anti-slip touches help prevent common mistakes.
-
Replaceable parts: Flat and julienne blades are easy to source, extending the tool’s life.
-
Sturdy frames with less flex: More consistent thickness across the stroke, so texture stays even.
A quick bowl routine you can copy today
-
Shred 1/4 head at ~1 mm.
-
Cold-water dunk for 30–60 seconds; drain and dry thoroughly.
-
Dress: a loop of olive oil, a pinch of salt, a few drops of lemon or mild vinegar.
-
Adjust with pepper, mustard, or a touch of mayo if you like.
-
Serve next to fried mains or pile into sandwiches.
Execution checklist
-
Start around 1.0–1.2 mm and adjust one click at a time
-
Switch to the hand guard as your fingers move down the piece
-
Rinse immediately, soft-sponge wash, dry fully, cover on
-
Keep veggie and raw-meat boards/tools separate
Warning box
-
The blade is extremely sharp. Never push small ends with bare fingers—use the guard.
-
Wet counters and wet hands increase slip risk. Keep the work area dry.
Quick recap
-
Start near 1 mm, then fine-tune.
-
Guard on, hands safe.
-
Soft-sponge clean, dry completely, store covered. Keep these three, and the texture takes care of itself.


